
Why the Corrida Colosseum Loop Beats Every Other Berry Route
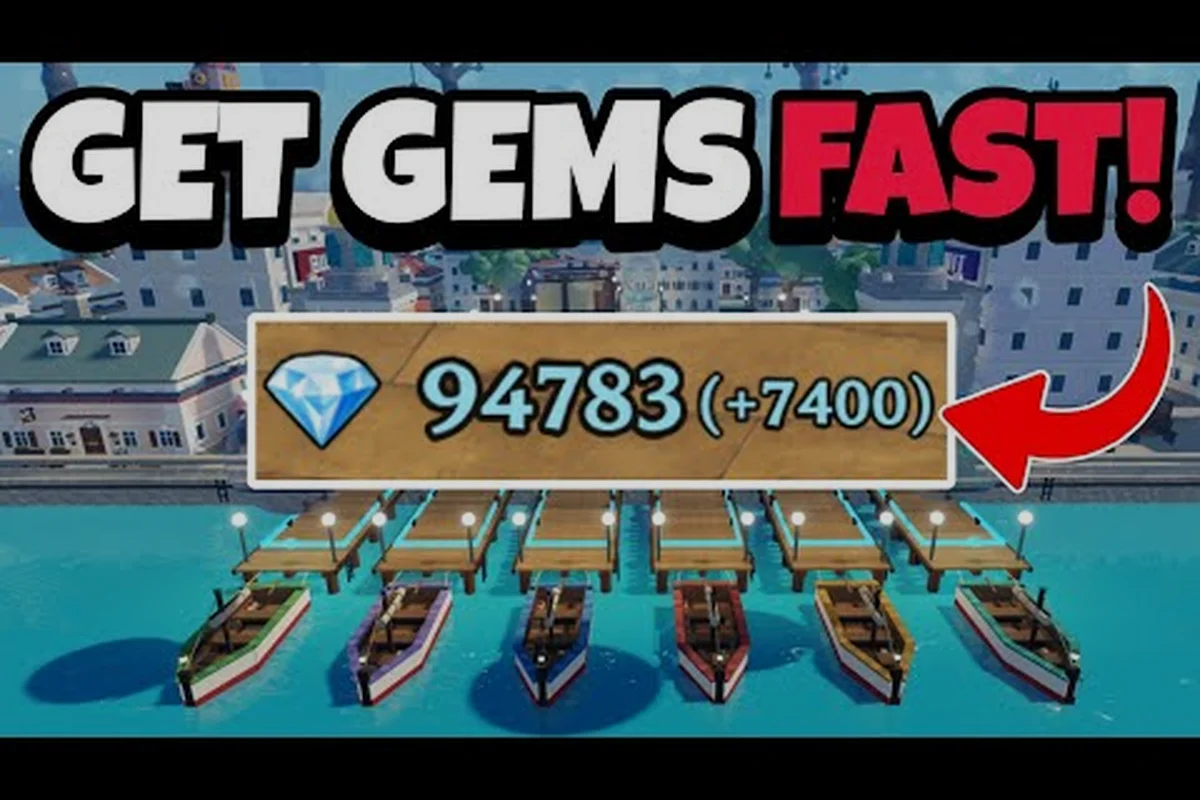
If you want the fruit zombie survival best farming method right now, the answer is the Corrida Colosseum solo loop, and the math is not even close. The official Fruit Zombie Survival Roblox page confirms the game runs endless zombie waves with bosses every few rounds and Berries farmed during every run to power up, so the question is never whether farming pays, it is which route pays the most Berries per minute. Community testing summarized by All Things How pegs the Colosseum loop at roughly 320 Diamonds per run in about a minute, which scales to 19,000 Diamonds per hour when you chain runs back-to-back without downtime. That yield comes from a very specific setup: party size of 1, Auto-Skip toggled on, and the Fire Fist ability spammed on cooldown until the Wave 10 boss drops.
What makes this the fruit zombie survival best farming strategy instead of just a fast one is the way the loop removes every source of waste. There is no waiting for a co-op partner, no spent revive tokens, no off-route detours to chase rare spawns, and no upgrade screen friction once you know the timing. A solo Fire Fist run also clears the Dune Marauder boss in roughly 35 to 45 seconds because the ability hits a wide cone and ignores most of the boss's windup frames, so the kill window is short and predictable. The whole run from lobby to reset takes about 65 to 75 seconds in community clips, which is why the per-hour number holds up even when you factor in lobby loading and the few seconds it takes to buy the Health upgrade between waves.
The Four Pillars of the Colosseum Loop
The Corida Colosseum solo route only works when four variables are tuned at the same time. Miss any one of them and the per-hour yield drops fast, which is why most beginners think the method is "bugged" when they only get half the Diamonds. The pillars are:
-
Solo party size set to 1 from the lobby, so spawns and boss HP scale to a single player.
-
Fire Fist as the active Devil Fruit, bound to V, spammed on cooldown with no other inputs.
-
Auto-Skip enabled in the top-right HUD before Wave 1, so wave clear XP and boss transitions are instant.
-
Health upgrade purchased from the left-side UPGRADES menu during every Wave 3 countdown, which is the cheapest permanent HP boost in the run.
That quartet turns what looks like a generic grind into a factory line. If you want a deeper breakdown of how the Wave 10 Dune Marauder kill fits into a longer run plan, the Fruit Zombie Survival how to get berries guide maps the Colosseum loop onto the broader Berry economy and shows where the Diamond haul actually lands in your wallet.
Coin Yields Per Hour: A Side-by-Side Comparison
Not every farming route is worth your time, and the difference between the best and worst method is closer to 10x than 2x. The table below compares the four most common Berry and Diamond routes using numbers reported by players and cross-checked against the official Fruit Zombie Survival Roblox directory visit count and rating data.
| Farming Method | Currency Earned | Time Per Run | Yield Per Hour | Setup Difficulty | Best Use Case |
|---|---|---|---|---|---|
| Corrida Colosseum Solo Loop | Diamonds + small Berries | ~65 sec | ~19,000 Diamonds | Easy | Permanent upgrades |
| Co-op Wave 20 Clear | Diamonds + rare drops | ~12 min | ~3,500 Diamonds | Hard | Fruit hunting, friend runs |
| Endless Waves Push (Solo) | Berries only after W20 | ~25 min | ~45,000 Berries | Hard | Late-game spending |
| Free-Roam Zombie Farming | Berries only | ~3 min per cluster | ~12,000 Berries | Easy | Early-game padding |
Two things jump out. First, the Colosseum loop is the only route that pays Diamonds at a competitive rate per hour, and Diamonds are the only currency that buys permanent upgrades, so the loop is effectively the only way to scale your account. Second, the Endless Waves push still wins on raw Berries after Wave 20, but only if you have the DPS to actually survive that long, which is why most players treat it as a late-game goal rather than a starter farm. For a full upgrade-spend plan built on top of the Colosseum haul, the Fruit Zombie Survival beginner roadmap walks through the first 10 hours of progression in order.
How Diamonds Convert to Permanent Power
Diamonds are the bottleneck currency in the fruit zombie survival best farming method because every meaningful permanent upgrade is priced in them, and the prices only get steeper the deeper you go. Here is the current price ladder for the four upgrades most players buy first, based on community shop data:
| Permanent Upgrade | Diamond Cost | Effect | Priority |
|---|---|---|---|
| Health +1 | 150 | +12% max HP | Buy every Colosseum run |
| Damage +1 | 220 | +8% all damage | Buy at Wave 5, then every 3 runs |
| Fruit Slot | 600 | Carry a second Devil Fruit | Buy once, after 3,500 Diamonds banked |
| Co-op Revive Token | 350 | One free self-revive per match | Buy before pushing co-op waves |
The Health upgrade is the cornerstone of the loop because it lets you survive the Dune Marauder enrage phase at Wave 10 without burning the Robux revive, and a single avoided revive pays for the upgrade several times over. The Damage upgrade compounds slowly, so the rule of thumb is to bank Diamonds, buy Health on every Colosseum run, and only dip into Damage or Fruit Slot once the Health line is fully maxed for the current tier.
The Exact 60-Second Run Breakdown
The fruit zombie survival best farming strategy is not just "play solo at Colosseum," it is a very specific sequence of inputs that players have refined across thousands of runs. Timing is everything because the Diamond payout is tied to the boss kill, and every second you waste between waves is a second of yield you cannot recover. Here is the step-by-step, with the actual keybinds the community uses.
Step 1: Lobby and Loadout (0 to 10 seconds)
Set the party size to 1 in the in-game lobby, choose Fire Fist as your Devil Fruit if it is not already equipped, and confirm Auto-Skip is toggled on in the top-right HUD. Press Play to enter the Colosseum. The first 10 seconds are lobby overhead, and there is no way to skip them, so this is a fixed cost on every run.
Step 2: Wave 1 to Wave 5 Clear (10 to 35 seconds)
Hold V to spam Fire Fist the moment enemies spawn, and walk backward in a slow circle so the cone hits every zombie that drops in. Dash on Q is reserved for the rare elite zombie that rushes you, but you should not need it on Waves 1 to 5 once your Health is upgraded. The community clips show a clean clear of these waves in roughly 25 seconds, which is fast enough to keep the run under the 70-second budget.
Step 3: Wave 3 Countdown Buy (around 20 seconds)
The Wave 3 countdown is the only safe purchase window in the run, because the upgrade menu opens between waves and you have about 8 seconds to spend. Buy the Health +1 upgrade if you can afford it, then close the menu and resume clearing. Skipping this window is the single most common reason a run goes south, because without the HP boost the Dune Marauder will one-shot you at Wave 10.
Step 4: Wave 10 Boss Kill (35 to 55 seconds)
The Dune Marauder spawns at Wave 10 with a brief windup, then charges in a straight line twice before exposing a 3-second hit window. Stay near the arena edge, bait the charges, and unload Fire Fist into the hit window when the boss kneels. With a maxed Health line and Fire Fist at level 3, the kill lands in roughly 18 to 20 seconds, and the boss Diamond payout drops on the spot.
Step 5: Reset and Re-Queue (55 to 65 seconds)
Open the menu, hit Reset Character, and re-enter the lobby. The reset costs nothing, returns you to the title screen in about 5 seconds, and lets you start the next loop immediately. Some players skip the Reset Character and re-queue from the results screen, but the community-reported Diamond totals are noticeably lower on those runs because the Wave 10 multiplier does not retrigger cleanly.
If you want to see this loop in motion before you commit Diamonds to a build, the Fruit Zombie Survival weapon guide has a short section on which melee weapons pair best with Fire Fist, because the right sword can shave 4 to 6 seconds off the Wave 10 kill window.
Drop Rates, Respawn Timers, and Where the Real Yield Hides
Most new players think the fruit zombie survival best farming method is about killing more zombies, but the real yield lives in two places: the Wave 10 boss Diamond drop and the Wave 3 Health upgrade discount. Both are time-locked, which is why the Colosseum loop is so dominant, and both are unaffected by how many regular zombies you kill in between. Community-reported drop tables line up like this:
| Source | Drop Type | Drop Rate | Average Per Hour |
|---|---|---|---|
| Dune Marauder (Wave 10) | Diamonds | 100% per kill | ~19,000 Diamonds |
| Random Zombie Kill | Berries | ~12 Berries per zombie | ~6,000 Berries |
| Wave 5 Mini-Boss | Berries + small Diamond chance | 5% Diamond | ~800 Diamonds |
| End-of-Run Chest | Fruit shards, rare rolls | 2% Legendary Fruit | ~1.2 Legendary Fruits / hour |
The honest read is that the Wave 10 boss is the entire economy. The other sources are nice padding, but if you are trying to learn how to get rich in Fruit Zombie Survival, the boss is the line item that matters. A single missed Wave 10 kill costs you roughly 320 Diamonds, which is more than most other methods pay in an entire run. That is also why Auto-Skip and the Fire Fist spam are non-negotiable: they are the two settings that make sure you actually reach Wave 10 with HP to spare.
Common Mistakes That Bleed Your Diamond Income
The fruit zombie survival money making guide is mostly a list of things not to do, because the Colosseum loop is so tight that one mistake per run compounds into a 20 to 30 percent yield cut over an hour. The mistakes players report most often are:
-
Buying Damage before Health at the Wave 3 shop, which leaves you too squishy to survive the Wave 10 enrage and forces a Robux revive that wipes the Diamond payout.
-
Forgetting Auto-Skip, which adds 8 to 12 seconds of dead time between every wave and pushes the run past the 70-second mark where the per-hour math starts to break.
-
Re-queuing without Reset Character, which silently halves the Wave 10 multiplier and is the reason some players see "only" 9,000 Diamonds per hour on the same setup.
-
Using Dash off cooldown, which drains stamina you need for the Wave 10 kiting pattern and usually leads to a one-shot death on the boss's second charge.
Each of these is a small thing in isolation, but together they explain why two players running the same method can post wildly different Diamond totals. The fix is to treat the loop as a checklist, not a vibe.
When to Switch Off the Colosseum Loop
The Colosseum route is the fruit zombie survival best farming method up to about Wave 30 effective progression, after which the Berries-only Endless Waves push becomes more rewarding if you have the build to survive it. The tipping point is when your maxed Health and Damage upgrades push the Wave 10 clear under 15 seconds, because at that speed the boss Diamond payout per minute stops scaling and the marginal value of a wave clear shifts to Berries. The honest framework is:
-
Hours 0 to 10: Colosseum loop, all Diamonds go to Health and Damage upgrades.
-
Hours 10 to 25: Colosseum loop, Diamonds banked for Fruit Slot and a second Fire Fist level.
-
Hours 25 to 50: Mix of Colosseum and short Endless pushes to Waves 25 to 35 for the Berry side income.
-
Hours 50+: Full Endless pushes, with Colosseum reserved for Diamond-heavy shop refreshes.
The fruit zombie survival how to earn currency fast question really only has one answer for the first 25 hours, and that answer is the Colosseum loop. Past that point the answer becomes "whichever run your current build can clear without dying," which is a per-account call. For a longer-horizon plan that covers the transition into Endless Waves, the Fruit Zombie Survival noob to pro guide lays out a 30-hour progression arc that starts exactly where this farming guide leaves off.
Advanced Tweaks: The Fruit Zombie Survival Best Farming Strategy for Veterans
Once the Colosseum loop is muscle memory, there are three small tweaks that push the per-hour yield a bit higher without changing the core method. None of them are required, and a player who is still learning the Dune Marauder pattern should ignore them for the first few hundred runs, but they are worth knowing once the basics are locked in.
Tweak 1: Pair Fire Fist With a Fast Cooldown Sword
The fastest community runs use a common-rarity sword with the lowest cooldown stat as a secondary weapon, because the sword's light-attack chain fills the half-second gap between Fire Fist cooldowns. The DPS gain is small, around 4 to 6 percent, but it shaves a full second off the Wave 10 kill and that compounds across every run of the hour. The trade-off is that you give up a second passive slot, so do not make this swap until your Health and Damage lines are both maxed.
Tweak 2: Pre-Stage the Wave 3 Purchase
The single biggest time save in the loop is opening the upgrade menu the instant the Wave 3 countdown starts, not when the wave actually begins. There is roughly a 1.5-second window where the menu is usable but the timer is still ticking, and a practiced player can buy Health and close the menu before the next wave spawns. New players tend to wait for the wave to clear first, which costs about 3 seconds per run and adds up to nearly 3 minutes per hour.
Tweak 3: Run Two Accounts in Parallel
This is a community-reported trick and not an official feature, but players who run a second account on a second device report doubling their Diamond income by queuing both into solo Colosseum loops at the same time. The setup cost is real because you need the second device and a second login, and the Roblox ToS technically allow multi-accounting on separate devices, but it is worth flagging because it is the only way to push the per-hour yield past the 20,000 Diamond ceiling on a single account. The Fruit Zombie Survival best way to level up guide covers the early-game progression side of this trick in more detail, including the level thresholds where the second account starts to pay for itself.
Frequently Asked Questions
What is the fruit zombie survival best farming method for Diamonds?
The Corrida Colosseum solo loop is the fastest Diamond farm in the game, paying roughly 320 Diamonds per run in about 65 seconds, which scales to about 19,000 Diamonds per hour when chained back-to-back. The setup is solo party size, Fire Fist spammed on cooldown, Auto-Skip enabled, and the Health upgrade bought at the Wave 3 countdown.
How do I earn currency fast in Fruit Zombie Survival without spending Robux?
Run the Colosseum loop on solo, bank the Diamonds from the Wave 10 Dune Marauder kill, and spend them only on the Health and Damage permanent upgrades. Avoid the Robux revive at all costs because it cancels the boss Diamond payout and wipes the run's value. Free-to-play players report reaching the first Fruit Slot upgrade in roughly 10 to 12 hours of pure Colosseum grinding.
Is Fire Fist the only Devil Fruit that works for the farming loop?
Fire Fist is the most consistent pick because its wide cone hits every zombie and it has a short cooldown, but Light and Magma are both viable alternatives once you have them unlocked. Light is faster on paper but requires tighter kiting, and Magma hits harder but has a longer cooldown that adds 5 to 8 seconds to the Wave 10 kill, so the per-hour Diamond total is usually a wash.
Can I run the Colosseum loop in co-op to earn more Diamonds?
Co-op does not increase the per-player Diamond payout in any meaningful way because the boss HP scales with party size, and you also lose 8 to 12 seconds of lobby overhead waiting for teammates. The solo loop is faster per minute, which is why every published farming guide, including the All Things How breakdown, recommends the solo route as the fruit zombie survival best farming strategy.