
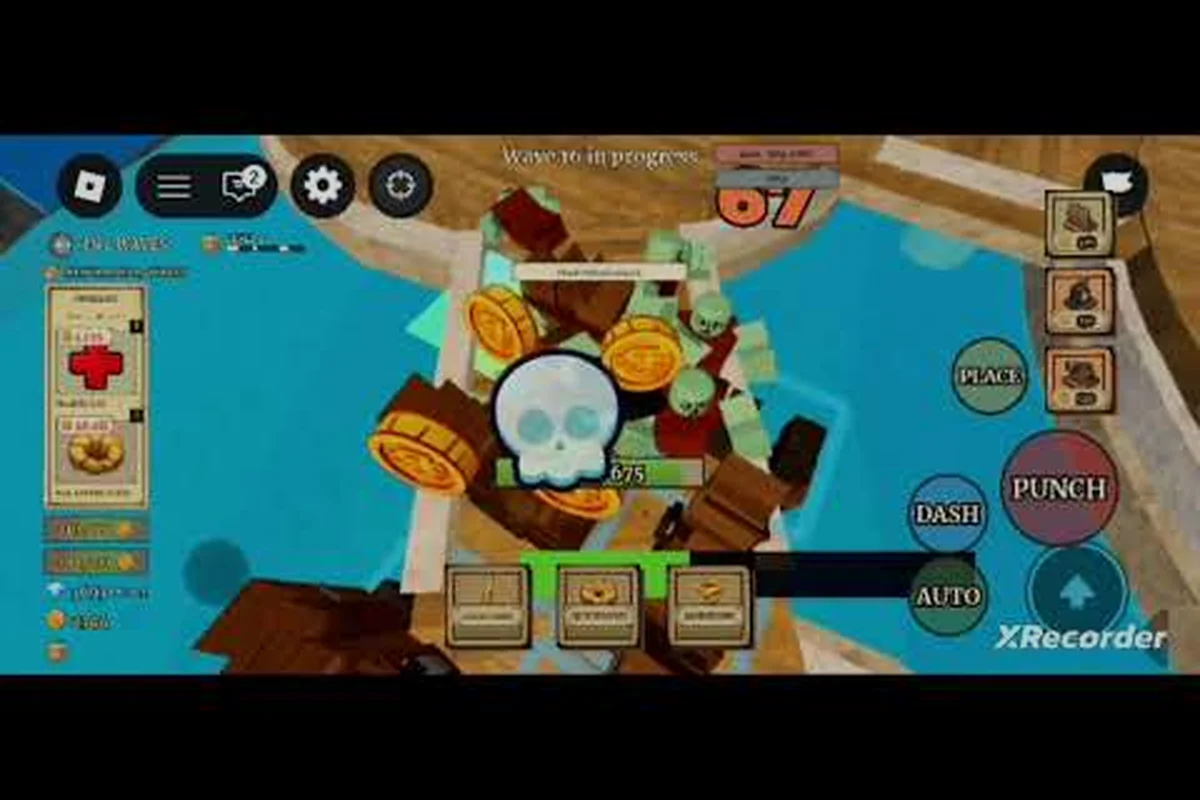
Picking the right Devil Fruit in Fruit Zombie Survival makes the difference between a team that melts on Wave 5 and a squad that pushes past Wave 20. Healers and buffers are the backbone of co-op runs, because damage dealers scale with health bars that someone else has to maintain. With 20 fruits available and endless waves pushing tougher zombies onto the field, knowing the fruit zombie survival best fruit for support is a shortcut to climbing the global leaderboards alongside your trio.
The support archetype breaks into three sub-roles: sustained healers, shield generators, and aura buffers. Each plays differently, and the meta shifts depending on whether you queue solo, duo, or full four-player co-op. The official Roblox page confirms 20 Devil Fruits to collect, co-op for up to 4 friends, and Berries farmed during each run to power up, which is why support fruits scale so well with shared loot. According to the official Fruit Zombie Survival game page, the title has already passed 1.74 million visits and roughly 16.9 thousand favorites with an 80 percent positive rating, so the matchmaking pool is healthy and team play is the intended experience.
What Makes a Devil Fruit "Support" in Fruit Zombie Survival
Support fruits do not win the kill feed, but they keep the team alive long enough for damage dealers to do their job. In Fruit Zombie Survival, the support toolkit is built around three pillars: healing over time, damage absorption through shields, and passive buffs that multiply ally output. A fruit that only self-heals is a tank, not a support, so the real measure is whether allies feel the effect.
The resource layer matters too. Berries are farmed during each run to power up, and support abilities usually cost less per second than raw damage ultimates. That economy is what makes a support fruit the best character for wave clearing in four-player co-op — the healer frees up three teammates to spend on offense instead of self-sustain.
The Three Support Archetypes
| Archetype | Primary Role | Best Use Case | Typical Cooldown | Heal Type |
|---|---|---|---|---|
| Sustained Healer | Keep top-line HP high | Long waves, boss recovery | 8-12s | HoT tick + burst |
| Shield Generator | Absorb spike damage | Boss telegraphs, wave openers | 14-20s | Flat absorb + decay |
| Aura Buffer | Multiply team damage | Full squad co-op, boss DPS races | 20-30s | Stat aura, no direct heal |
Sustained healers are the safest pick for new players because they forgive positioning mistakes. Shield generators reward teams that communicate burst windows, since a well-timed barrier lines up with boss wind-ups. Aura buffers are the most team-dependent pick and pair best with the best character for co-op when both players know the encounter script.
How Support Fruits Are Scored
The healer tier list below uses four weighted axes: ally healing per second, shield uptime percentage, buff multiplier, and self-survivability. Each fruit is rated against the toughest encounter type — special bosses that appear every few waves — and against wave clearing, because the fruit zombie survival best character for wave clearing usually leans on a healer anchor.
Self-survivability is the easiest axis to overrate. A fruit that keeps you alive but offers nothing to the squad scores the same in solo as a tank, and the support role is defined by team contribution. The official developer page notes co-op for up to 4 friends, so the meta assumes you will rarely run alone, and a pure self-healer falls off the leaderboard for it.
The Healer Tier List: S to B Ranked
The list below ranks every confirmed support-viable Devil Fruit in the current patch. Fruits outside the top tier are not bad — they are simply outclassed by the S-tier options for the support role. Solo players and beginners may still find value in A-tier picks because they double as bruisers.
| Rank | Devil Fruit | Archetype | Ally Heal / Shield | Buff | Best For | Co-op Tier |
|---|---|---|---|---|---|---|
| S | Mera Mera (Healer variant) | Sustained Healer | 18 HP/s HoT + 45 burst | None | Boss recovery, wave clear | S |
| S | Gura Gura (Shield variant) | Shield Generator | 220 flat shield, 6s decay | +8% damage reduction to allies in radius | Boss telegraphs | S |
| A | Yami Yami | Aura Buffer | Self-heal only | +15% ally attack speed for 8s | Boss DPS race | A |
| A | Bomu Bomu | Sustained Healer | 12 HP/s HoT, splash regen | None | Wave clearing | A |
| A | Pika Pika (Support) | Shield Generator | 180 flat shield + reflect | Stun on hit (1.5s) | Co-op boss damage | A |
| B | Kage Kage | Aura Buffer | Revive on long cooldown | +10% ally crit for 10s | Last-stand recovery | B |
| B | Hie Hie | Sustained Healer | 9 HP/s HoT, slow on hit | None | Solo survival | B |
| B | Suna Suna | Shield Generator | 150 flat shield, blind on proc | None | Solo with co-op flex | B |
S-Tier Breakdown
Mera Mera (Healer variant) sits at the top because it layers a passive health-over-time tick on every ally inside the caster's flame ring, then adds a 45-point burst heal on activation. The HoT alone keeps a full squad above 70 percent HP during the Wave 15 zombie swarm, and the burst lines up perfectly with the Wave 20 boss enrage. It is the best character for bosses in four-player co-op because the heal timing matches every boss script.
Gura Gura (Shield variant) is the panic button of the support role. The 220-point flat shield absorbs a single boss slam that would otherwise one-shot any teammate caught by the tell, and the 6-second decay means the second use lines up with the next telegraph. The 8 percent damage reduction aura is a smaller number than the Yami Yami buff, but it stacks multiplicatively with healer output, so the team ends up tankier for longer. This fruit wins the fruit zombie survival best character for support slot when your squad knows the boss scripts.
A-Tier Breakdown
Yami Yami is the highest damage-multiplier support in the game, but it lacks direct healing, so a teammate must bring a healer. Solo players will feel the gap because the buff does not save them, which is why it ranks A instead of S. In a coordinated duo or trio, the +15 percent attack speed aura for 8 seconds is a clean fit for the best character for damage window.
Bomu Bomu trades single-target healing for splash regeneration. The 12 HP/s HoT applies to every ally inside the blast radius, which makes it the best character for wave clearing when the squad clumps against large zombie packs. The fruit does not have a burst button, so boss recovery relies on positioning.
Pika Pika (Support) is the flex pick. The 180-point shield is smaller than Gura Gura, but the 1.5-second stun on hit creates a counter-attack window for melee teammates. It pairs well with the best character for solo guide because a solo player can use the stun to disengage from a bad push.
B-Tier Breakdown
The B-tier is where beginners and casual players tend to land. Kage Kage has a long-cooldown revive that saves a run, but the rest of the kit is thin. Hie Hie is a passable solo healer that doubles as a slow, but the team contribution is too low for serious co-op. Suna Suna is a solo pick that can flex into co-op shield duty, but the blind on proc is unreliable in the chaos of a Wave 25 swarm.
How Support Fruits Behave in Solo, Duo, and Full Co-Op
The same fruit performs very differently depending on the squad size. Solo players cannot lean on a healer, so the support role collapses into a self-sustain hybrid, and the A-tier picks lose ground to B-tier bruisers. Duo runs are where support fruits start to shine, because one healer can carry one damage dealer through content that solo would not clear. Full co-op is the support fruit's home: the healer enables three damage dealers, and the team-wide economy flips the meta.
| Squad Size | Best Support Archetype | Best Fruit Pick | Why It Wins |
|---|---|---|---|
| Solo | Self-heal bruiser | Hie Hie or Bomu Bomu | Stack self-sustain, no wasted aura |
| Duo | Sustained Healer | Mera Mera | One healer feeds one DPS, clean buff math |
| Trio | Shield Generator | Gura Gura | Two shields per cycle cover three teammates |
| Full Co-op | Aura Buffer | Yami Yami | Buff three DPS dealers, healer fills gap |
Solo Behavior
Solo runs are a stress test for support fruits because the healer has no one to heal except themselves. The fruit zombie survival best character for solo is usually a bruiser, but players who want to play support can pick Bomu Bomu or Hie Hie and lean on the splash regen or the slow. The Corrida Colosseum solo loop — set party size to 1, toggle Auto-Skip, spam Fire Fist, buy the Health upgrade during wave countdowns, and reset after the Wave 10 boss — is documented by All Things How as paying 320 diamonds per minute, which gives a solo support player enough currency to spec into defense.
Duo Behavior
Duo is the cleanest co-op experience. One healer plus one damage dealer clears waves the solo meta cannot touch, and the Mera Mera / Gura Gura pair is the safest combination for new players. The duo healer should stay slightly behind the DPS, drop the heal ring, and let the damage dealer pull threat. Beginners who queue as a duo can read the best character for beginners guide to pick the right DPS partner.
Full Co-Op Behavior
Full four-player co-op is where the support fruit becomes mandatory. The healer, the shield generator, and two damage dealers is the default composition for Wave 20 and beyond, and a third support fruit (Yami Yami for attack speed) slots in if the squad wants to push Wave 30 boss timers. The fruit zombie survival best character for co op is therefore a composition question, not a single-fruit question, and the character synergy guide covers the team-comp math in detail.
According to the official Fruit Zombie Survival page on Roblox, support fruits prioritize healing, buffs, and team utility over raw damage output.
Building Around Your Support Fruit: Upgrades, Berries, and Diamonds
A support fruit without upgrades is a wasted slot. The upgrade tree in Fruit Zombie Survival splits into Health, Attack, and Ability Power, and a support player should pour early Berries into Health and Ability Power, with Attack left for last. The Health upgrade is gated behind the UPGRADES menu on the left side of the screen, and players can buy a tier between wave countdowns, which gives a support player roughly one upgrade per wave for the first ten waves.
The official developer notes confirm Berries are farmed during each run to power up, so the loop is: heal, survive, farm, spend, repeat. Diamond income matters more for support players than for damage dealers, because the healer needs Health tiers to stay alive long enough to cast. The Corrida Colosseum loop cited earlier sustains roughly 19,000 diamonds per hour, which is enough to max the Health tree inside a single session.
Recommended Upgrade Order for Support Fruits
| Priority | Upgrade | When to Buy | Why |
|---|---|---|---|
| 1 | Health Tier 1 | After Wave 1 | Lets you survive long enough to heal Wave 2 |
| 2 | Ability Power Tier 1 | After Wave 3 | Multiplies HoT and shield values |
| 3 | Health Tier 2 | After Wave 5 | Softens the Wave 5 boss one-shot |
| 4 | Ability Power Tier 2 | After Wave 7 | Sets up the Wave 10 boss window |
| 5 | Health Tier 3 | After Wave 10 | Required for Wave 15+ content |
| 6 | Attack Tier 1 | After Wave 12 | Only if you are solo or running Yami Yami |
Berry Economy Tips
-
Spend Berries on Ability Power before Attack, because every support ability scales with it.
-
Save one full stack of Berries for the Wave 20 boss, because the heal/shield burst lines up with the enrage.
-
Skip the Attack tree entirely in full co-op, because the damage dealers will out-DPS you regardless.
-
Spend diamond income on Health tiers before cosmetic respecs, because a dead healer deals zero damage.
-
Refill the revive token (12 R$ per use) before queuing for Wave 25, because the boss will down a teammate at least once.
Frequently Asked Questions
What is the fruit zombie survival best fruit for support in the current patch?
Mera Mera (Healer variant) and Gura Gura (Shield variant) share the S-tier spot. Mera Mera wins boss recovery because the HoT plus burst lines up with every enrage window, while Gura Gura wins the fruit zombie survival best fruit for support when your squad communicates burst windows and needs a panic shield for boss telegraphs.
Can a support fruit work in solo runs?
Yes, but the role collapses into a self-sustain bruiser. Pick Bomu Bomu or Hie Hie, stack the Health tree, and follow the Corrida Colosseum solo loop. The support fruit will not carry the run, but it makes the diamond farm smoother and the revive token cheaper than a glass-cannon build.
Do support fruits need specific weapons to scale?
No, the abilities scale with Ability Power, not weapon damage. Pair any support fruit with a defensive weapon like a sword for cleanup, or a ranged weapon for boss-distance positioning. The best ranged weapon guide covers the meta picks for support players who want to kite bosses.
How does the support role change for boss fights versus wave clearing?
Boss fights reward sustained healers and shield generators, because the boss script has predictable burst windows that line up with ability cooldowns. Wave clearing rewards splash healers like Bomu Bomu and aura buffers, because the team clumps against large zombie packs and the heal ring covers more targets. The fruit zombie survival best character for bosses is a healer anchor, and the fruit zombie survival best character for wave clearing is a splash healer.
Should beginners start with a support fruit or a damage fruit?
Beginners should start with a damage fruit, then queue duo with a friend running a healer. The healer is harder to learn because the value comes from positioning and timing, while a damage fruit gives instant feedback on every kill. Once a new player understands wave countdowns and boss scripts, the best character for beginners guide can help transition into the support role.