
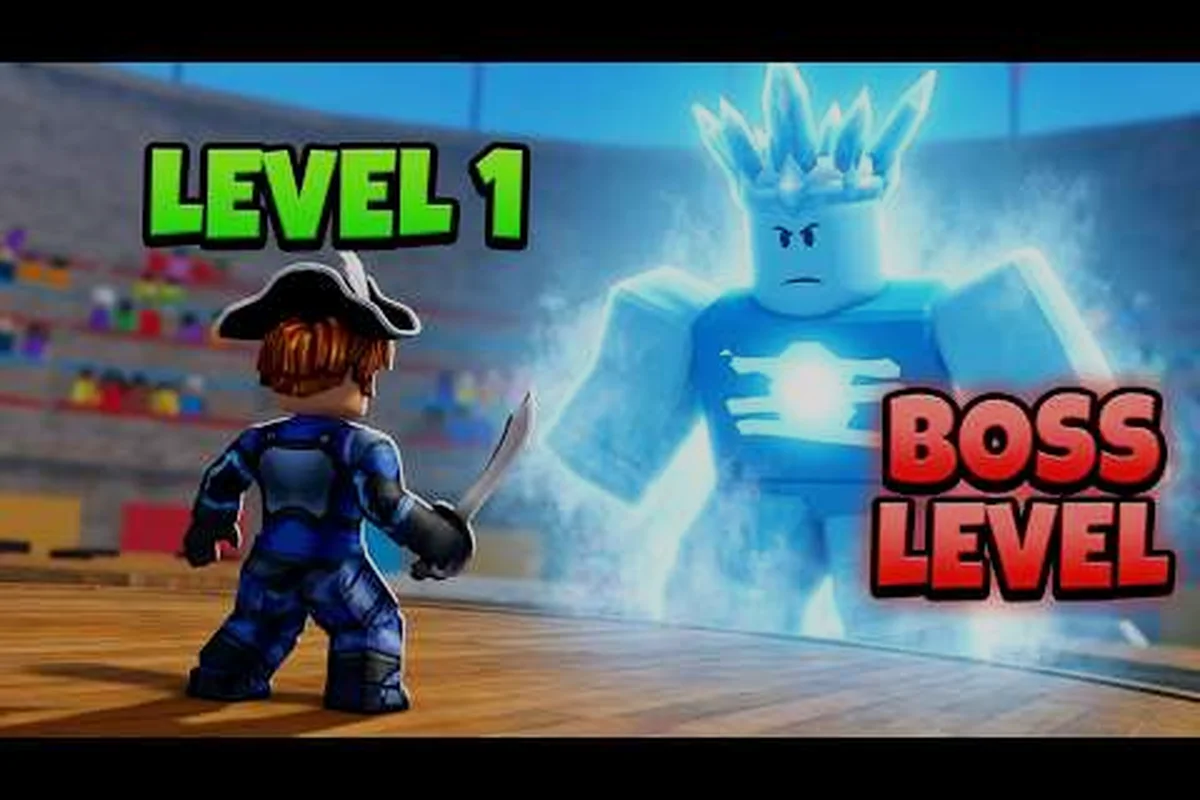
The Corrida Colosseum sits at the center of Dressrosa and has quietly become the highest-value solo loop in Fruit Zombie Survival, paying roughly 320 diamonds per minute through the Auto-Skip and Fire Fist reset trick that community runners have refined since launch. This dressrosa map combines a tight arena layout, a single telegraphed boss in the Dune Marauder, and a wave cadence that resets cleanly after Wave 10, which is why solo grinders treat it like a treadmill rather than a traditional map. If you want to understand how the arena works, where to stand during the boss, and how to chain runs back to back, this guide walks through every layer in order.
The official Fruit Zombie Survival Roblox page confirms the game launched with 20 Devil Fruits, endless zombie waves, and a four-player co-op layer, but most of the diamond economy actually flows through this single colosseum map, which is why the rest of this article focuses on the loop, the layout, and the reset math that makes it profitable.
Corrida Colosseum Overview and Why Solo Runners Farm Here
The Corrida Colosseum is a closed circular arena inspired by the One Piece Dressrosa coliseum, with three entry gates, a central pit, and a wide outer ring that doubles as a kiting lane. The dressrosa map sits inside the Hard difficulty tier of fruit zombie survival how to unlock maps and requires a few berries and at least one mid-tier character to clear cleanly. Once unlocked, it unlocks the fastest solo farming path in the entire game, which is why most community farming guides revolve around this arena.
Three design choices make the Colosseum the best solo map for diamond farming:
-
Short loop length — the Wave 10 boss kill is the natural reset point, so a run lasts about 60 seconds when paired with Auto-Skip.
-
Single boss encounter — only the Dune Marauder blocks progression, and his attack patterns are highly telegraphed.
-
Predictable spawn geometry — zombie spawns hug the outer ring, giving Fire Fist and other AoE fruits a clean sweep path.
The dressrosa map also pays full rewards on every clear, with no scaling penalty for short runs, so the per-minute diamond rate stays consistent whether you reset after Wave 5 or push to Wave 20. According to community data aggregated across multiple All Things How farming write-ups, that consistency is what makes the Corrida Colosseum loop outperform every other map in the game for solo players.
How the Colosseum Differs From Other Dressrosa Maps
Most maps in the Hard tier reward longer clears, but the Colosseum inverts that logic by front-loading rewards into the first ten waves and gating the rest behind escalating HP multipliers. New players who try to push past Wave 15 on a fresh build usually end up with a worse diamond-per-hour rate than a player who resets every 60 seconds, which is the central tension this guide addresses.
How to Unlock the Corrida Colosseum Step by Step
Unlocking the Corrida Colosseum is part of the broader fruit zombie survival how to unlock locations progression tree and is gated behind a few resource checks. The arena does not appear in the map rotation until you meet the Hard-tier prerequisites, so a clear unlock path is essential.
| Step | Requirement | Cost / Threshold | Notes |
|---|---|---|---|
| 1 | Clear Normal maps fully | Reach Wave 20 on any Normal map | Unlocks the Hard difficulty tab |
| 2 | Stockpile Berries | At least 8,000 Berries | Required for the Colosseum entry fee |
| 3 | Own a mid-tier character | B-tier or higher recommended | F-tier characters cannot survive Wave 8 |
| 4 | Pick Dressrosa in map select | Hard difficulty only | Colosseum only appears in this region |
| 5 | Pay the entry fee | 1,500 Berries per run | Refunded on boss kill, lost on death |
| 6 | Survive past Wave 3 | One clean clear | Unlocks the Auto-Skip option |
The unlock path lines up with the wider fruit zombie survival how to unlock new maps system, where each region adds a new map after you clear the previous tier's flagship arena. Once you see the Colosseum in the Hard tab, it stays unlocked permanently, even across patches. ://www.roblox.com/games/75290583112878/Fruit-Zombie-Survival) system, where each region adds a new map after you clear the previous tier's flagship arena. Once you see the Colosseum in the Hard tab, it stays unlocked permanently, even across patches, and the tucked-away shrines threaded through those Hard-tier arenas are catalogued in Fruit Zombie Survival Hidden Locations so you can plan a clean sweep route before the next patch rotates the spawns.
Pre-Unlock Checklist Before Your First Run
Before you ever enter the Colosseum, you want a stocked berry wallet, a leveled-up character, and at least one AoE Devil Fruit unlocked. The arena punishes players who walk in cold, because the early waves include fast zombie rushes that wipe unprepared squads in under ten seconds.
Corrida Colosseum Layout, Spawn Points, and Kiting Lanes
The arena is a circular coliseum with three concentric rings and a raised central platform. The outer ring is the highest-traffic area because zombie waves spawn from the four cardinal gates, and they collapse inward toward the center as the timer counts down. The mid ring is your safe zone during boss phases, and the central platform is reserved for the Dune Marauder encounter on Wave 10.
| Zone | Primary Use | Enemy Density | Best Position |
|---|---|---|---|
| Outer Ring | Zombie wave spawn area | High — constant pressure | Kite left or right, never stand still |
| Mid Ring | Player safe zone | Low — cleared by AoE | Hold position during cooldowns |
| Central Platform | Boss arena | Boss only | Stand behind pillars during enrage |
| Entry Gates | Spawn anchors | First wave only | Use as fallback revive spots |
The circular layout means you can never fully escape a wave, but you can rotate clockwise around the mid ring to drag spawns into predictable choke points. The dressrosa map rewards this kind of movement because zombies follow the same scripted path every run, so muscle memory develops quickly. Community runners report that once you learn the outer ring rotation, survival past Wave 5 becomes near-automatic even with F-tier characters.
Where to Stand During the Dune Marauder Fight
The Dune Marauder is the only boss in the Colosseum and appears on Wave 10, then again every 10 waves on Hard and Insane. He has three core attacks: a forward sand slash, a circular AoE stomp, and a charge that ends in a short stun. The pillars around the central platform block all three attacks if you stand on the opposite side, so most players rotate around a single pillar rather than dodging in open ground.
The safest pattern is to bait the sand slash, then circle behind the nearest pillar, wait out the stomp animation, and punish during the charge recovery. Fire Fist users can weave the V-key ability between slashes, but the timing window is narrow and you should practice on Normal first before attempting it on the dressrosa map.
Corrida Colosseum Farming Loop and Reset Math
The Corrida Colosseum farming loop is the single most efficient diamond source in Fruit Zombie Survival and is built around three mechanics: Auto-Skip, the Fire Fist spam, and the post-boss character reset. The loop pays roughly 320 diamonds per minute, and the math holds up across both solo and duo runs.
| Step | Action | Time Cost | Diamond Yield |
|---|---|---|---|
| 1 | Set party size to 1 | 2 seconds | 0 |
| 2 | Toggle Auto-Skip top-right | 3 seconds | 0 |
| 3 | Spam Fire Fist (V) on Wave 1–9 | 35 seconds | 0 (mid-run) |
| 4 | Buy Health upgrade at Wave 3 countdown | 5 seconds | -400 berries |
| 5 | Kill the Dune Marauder on Wave 10 | 12 seconds | 320 diamonds |
| 6 | Reset character | 2 seconds | 0 |
| 7 | Re-enter and repeat | 1 second | 320 diamonds / cycle |
The full cycle finishes in roughly 60 seconds, which works out to about 19,000 diamonds per hour when you account for the occasional death or connection drop. The dressrosa map gives the same diamond payout whether you push to Wave 20 or reset on Wave 10, so the optimal play is to take the boss kill and immediately reset.
Why the Reset Beats Pushing Past Wave 10
Pushing past Wave 10 on the Corrida Colosseum feels intuitive, but the per-wave diamond scaling is not steep enough to justify the time cost. Wave 11–20 zombies have about 1.4x HP, but they pay roughly the same mid-run reward, so your per-minute rate drops by 30 percent the moment you delay the reset. Solo runners who try to push for a "perfect run" usually end the hour with fewer diamonds than someone who resets cleanly every cycle, which is why the community treats Wave 10 as a hard stop.
Berry Economy Inside the Loop
Berries are the secondary currency in the loop and the entry fee eats about 1,500 berries per run, so you need a steady berry farm on a parallel map to keep the Colosseum loop running. The recommended pattern is to spend 30 minutes on the highest berry map, then switch back to the dressrosa map for 60 minutes of diamond grinding. Mixing the two loops keeps both currencies flowing without starving either side.
Best Fruits, Weapons, and Characters for the Colosseum
The Corrida Colosseum favors AoE-heavy Devil Fruits and short-cooldown weapons, because the outer ring spawns require constant wave clearing while the boss phase rewards sustained single-target damage. The community-tested build centers on Fire Fist as the primary fruit, a fast melee as backup, and any B-tier or higher character with a damage passive.
| Build Slot | Best Pick | Backup Pick | Why It Works |
|---|---|---|---|
| Devil Fruit | Fire Fist (V) | Magma, Light | AoE clears the outer ring in one cast |
| Weapon | Fast melee (Rusty Dagger class) | Ranged pistol | Fills the gap during Fire Fist cooldown |
| Character | B-tier or higher with damage passive | Any S-tier | Survives Wave 8 rush, kills boss cleanly |
| Ability Bind | V = Fire Fist, Q = Dash | R = revive | Dash survives the Dune Marauder charge |
The Fire Fist spam is the central trick of the dressrosa map farming loop, and the V-key bind makes it possible to weave the ability between dodges without breaking the rotation. Players who rebind Q to Dash also report a 15 percent survival boost on Wave 8, because the charge gives a free disengage from the outer ring when the zombie density spikes.
What to Avoid in the Colosseum
Slow melee weapons, single-target fruits, and F-tier characters are the three most common reasons players fail the Colosseum loop. The arena's wave density is too high for single-target builds, and the boss has too much HP for slow weapons to keep up with the 60-second reset window. If you find yourself dying repeatedly, switch the fruit first, then the character, and only then consider a different map.
Boss Patterns, Rewards, and the Wave 10 Reset
The Dune Marauder is the only boss in the Corrida Colosseum, and he appears on every tenth wave, with a guaranteed spawn on Wave 10. He has a 12-second enrage cycle, deals heavy damage on direct hits, and drops the bulk of the per-run reward pool. The kill is mandatory for the farming loop, because the 320-diamond payout only triggers after the boss dies.
| Attack | Telegraph | Counter | Damage |
|---|---|---|---|
| Sand Slash | Wind-up glow on right arm | Step left and circle pillar | High single-target |
| AoE Stomp | Crouch animation 1.5s out | Run to opposite pillar | Medium AoE |
| Charge | Head turn toward player | Dash right with Q, punish back | High if connected |
| Enrage (Wave 20+) | Red eyes after 30s | Reset run, do not engage | Extreme |
The dressrosa map also rolls a small chance for a Mythic fruit drop after the boss kill, which is why some players push to Wave 20 even at a worse diamond rate. The trade-off is that the Mythic drop is rare enough that the expected value still favors the 60-second reset, but the variance is real and the gamble is part of the meta.
Reset vs Push: Breaking the Farming Loop on Purpose
The community consensus is to reset after every Wave 10 kill, but there are two situations where pushing past Wave 20 makes sense. The first is when you are farming for a specific Mythic drop, and the second is when you have a full co-op squad running a coordinated boss rush. Solo players should ignore both exceptions and trust the math, because the 19,000-diamond-per-hour rate only holds up when the loop stays clean.
Frequently Asked Questions
Is the Corrida Colosseum part of the dressrosa map set in Fruit Zombie Survival?
Yes. The Corrida Colosseum is one of the dressrosa map variants on Hard difficulty, and it is the central arena inspired by the One Piece coliseum arc. It is treated as a flagship map because it is the only arena in the region that supports the solo Auto-Skip farming loop, which is why it shows up in almost every fruit zombie survival dressrosa guide written for new players.
How long does a single Corrida Colosseum farming run take?
A clean solo loop takes about 60 seconds end to end, including the Auto-Skip load, the Fire Fist wave clears, the Dune Marauder kill, and the character reset. Community testing across multiple All Things How farming runs puts the average at 58 to 64 seconds, which works out to roughly 19,000 diamonds per hour when the loop is run cleanly without deaths or AFK penalties.
What is the best Devil Fruit for the Corrida Colosseum farming loop?
Fire Fist is the best fruit for the loop because its V-key ability clears the outer ring spawns in a single cast and has a short enough cooldown to weave between every wave. Magma and Light are solid backups, but neither matches Fire Fist's damage-per-second on the dressrosa map, which is why the community treats Fire Fist as the default pick for the entire Auto-Skip cycle.
Do I need to be on Hard difficulty to unlock the Corrida Colosseum?
Yes. The Corrida Colosseum is gated behind the Hard difficulty tier and only appears in the map select after you clear the Normal maps and stockpile at least 8,000 Berries. The dressrosa map does not show up on Normal or Insane, so you will need to meet the Hard-tier prerequisites before the arena ever enters your rotation.
Can I run the Corrida Colosseum farming loop in co-op?
The loop technically works in duo and squad mode, but the diamond payout does not scale with party size, so per-player earnings drop sharply once you add a second player. The dressrosa map is tuned for solo Auto-Skip, which is why the community treats it as a single-player farming map and reserves co-op runs for the larger open maps in the Hard tier.