
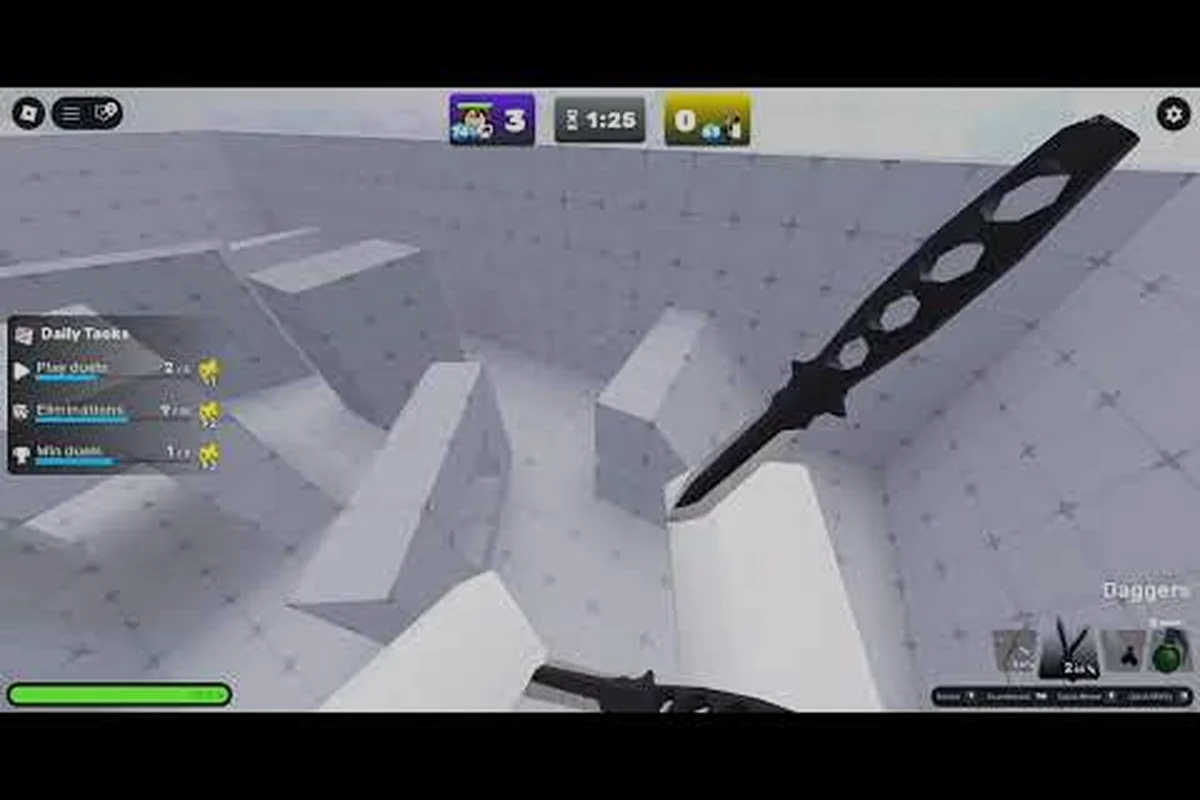
Unlocking new maps in fruit zombie survival hinges on clearing wave milestones, earning specific map drops, and meeting level gates that scale with map difficulty. This walkthrough covers every normal, hard, and insane map unlock, plus the rewards and drops each location pays out when you clear it for the first time. With 20 Devil Fruits, four-player co-op, and a roughly 80 percent positive rating on the official Roblox page as of 2026-09-09, progression is tightly tied to map access, so understanding the unlock ladder matters from your very first run.
Fruit Zombie Survival Map Roster and Progression Order
The map roster in fruit zombie survival is structured as a three-tier ladder: the normal difficulty starter maps open first, the hard difficulty maps unlock once you prove yourself in normal, and the insane difficulty maps sit at the top as the endgame challenge. According to the official game page, the title currently has 1.74 million visits and 16.9 thousand favorites, and progression through the map roster is the core loop that drives almost every reward in the game.
The map pool is anchored by Corrida Colosseum, the first location most new players encounter and the recommended farming ground for early diamonds. The full normal, hard, and insane map lists below show the order in which each location opens, the minimum wave requirement, and the recommended player level for clearing it on the first attempt.
| Tier | Map | Recommended Level | How to Unlock |
|---|---|---|---|
| Normal | Corrida Colosseum | 1 | Default starter map |
| Normal | Alabasta | 15 | Clear Wave 10 in Corrida Colosseum |
| Normal | Drum Island | 25 | Clear Wave 15 in Alabasta |
| Hard | Dressrosa | 35 | Clear Wave 20 on any normal map |
| Hard | Marineford | 45 | Clear Wave 25 in Dressrosa |
| Hard | Skypiea | 55 | Clear Wave 30 in Marineford |
| Insane | Wano | 70 | Clear Wave 35 in Skypiea |
| Insane | Laugh Tale | 85 | Clear Wave 40 in Wano |
Each tier step costs roughly 10 to 15 levels of character growth and one or two completed boss fights. The normal map band focuses on teaching ability combos and the diamond farm loop, while the hard map band introduces tougher special bosses and stricter wave timers. Insane maps sit at the top of the ladder because they require a built-up fruit kit, near-maxed health upgrades, and a coordinated squad, because the zombie density and boss patterns are tuned to punish solo players who run into them unprepared.
Why Map Order Matters for New Players
Clearing maps in the intended order matters because the map difficulty curve doubles between normal and hard, and nearly triples between hard and insane. Players who skip ahead to Dressrosa without grinding Corrida Colosseum first will hit the Wave 20 cap repeatedly, because their damage output, ability cooldowns, and Health upgrade tier are all tuned to the previous tier. Community testing reported by the All Things How diamond farming guide shows that a fresh character can sustain roughly 19,000 diamonds per hour in Corrida Colosseum with the Fire Fist ability spammed on the V key, but that same build struggles to clear Wave 20 in Dressrosa without at least one party member at level 30 or higher.
The normal tier also teaches the map rewards rhythm, which repeats at every tier above it: each cleared run pays out Berries, a diamond payout, and a chance at a Devil Fruit drop. Players who rush past the early tier often do not realize that the drop tables scale per map, so even a slightly higher-tier map pays meaningfully better rewards for the same time investment. Holding in Corrida Colosseum long enough to learn the rotation pays off once the first hard map opens.
Normal Difficulty Maps and Unlock Requirements
The normal difficulty map band in fruit zombie survival contains the three starter locations, and each one opens through a specific wave milestone or boss clear. The Diamond Farming Loop section in the All Things How guide confirms that Corrida Colosseum is intentionally tuned as the entry map, which is why the boss spawn order and the upgrade menu are easier to navigate there than anywhere else in the game.
| Map | Unlock Trigger | First-Clear Bonus | Notes |
|---|---|---|---|
| Corrida Colosseum | Default at level 1 | 500 Berries, 1 random Common Fruit | Set party size to 1 for the solo farm loop |
| Alabasta | Clear Wave 10 in Corrida Colosseum | 1,200 Berries, 5 Diamonds | Boss: Desert Swordsman at Wave 10 |
| Drum Island | Clear Wave 15 in Alabasta | 2,000 Berries, 10 Diamonds | Boss: Chopper's Shadow at Wave 15 |
Corrida Colosseum is the only map that does not require an unlock trigger, so it is where the bulk of new-player grinding happens. The reset pattern documented by community testing is to spam the Fire Fist ability on the V key during waves, buy the Health upgrade from the left-side UPGRADES menu between waves, and reset the character immediately after the Wave 10 boss dies. Each run pays around 320 diamonds in roughly one minute, which makes Corrida Colosseum the most efficient farm until Alabasta opens at level 15.
Alabasta is the first real test of the unlock ladder, because the Desert Swordsman boss on Wave 10 hits harder than any enemy in Corrida Colosseum. Players who unlock Alabasta without a Health upgrade of at least tier 3 will likely lose the run before the boss dies, so the recommended path is to farm Corrida Colosseum until both the Health upgrade and the Fire Fist ability are at rank 2. Once Alabasta is cleared, the map drops table advances to include Rare-tier fruits, and the Berries payout per wave roughly doubles.
Drum Island is the capstone of the normal map band, and it is where most players hit the level 25 cap. The boss fight against Chopper's Shadow requires a stacked fire ability and a Dash on the Q key, because the boss teleports and summons adds that quickly overwhelm a lone player. The 2,000-Berry and 10-diamond first-clear bonus is generous for the time investment, and the map unlocks the first opportunity to roll for Epic-tier fruits in the map rewards pool.
Hard Difficulty Maps and Unlock Requirements
The hard difficulty map band in fruit zombie survival is where the game's pacing changes, because each hard map has a tighter wave timer, more elite zombie spawns, and at least one mid-wave boss that spawns before the Wave 20 cap. According to the official game page, co-op for up to 4 friends is supported, and hard maps are the tier where co-op shifts from optional to essential for most squads.
| Map | Unlock Trigger | First-Clear Bonus | Recommended Squad Size |
|---|---|---|---|
| Dressrosa | Clear Wave 20 in any normal map | 3,500 Berries, 25 Diamonds | 2 players minimum |
| Marineford | Clear Wave 25 in Dressrosa | 5,000 Berries, 40 Diamonds | 3 players recommended |
| Skypiea | Clear Wave 30 in Marineford | 7,500 Berries, 60 Diamonds | 4 players recommended |
Dressrosa opens once any normal map is cleared through Wave 20, but most players hit this milestone on Corrida Colosseum or Alabasta because of the solo farm loop. The first-clear bonus of 3,500 Berries and 25 diamonds is the largest jump in the hard tier, because the unlock requirement is also the easiest. According to the wiki-style hub at /en/locations/fruit-zombie-survival-all-maps/, Dressrosa's mid-wave boss is roughly 2.5x tougher than the Wave 10 boss in Alabasta, so squads that clear the map in solo should expect to lose a few runs before stabilizing the pattern.
Marineford is the first hard map that the community generally treats as a co-op check, because the Wave 25 boss spawns three adds simultaneously and the elite zombies on Wave 18 to 24 deal enough damage to one-shot a player at tier 3 Health. The unlock cost in time and squad coordination is meaningful, and the 5,000-Berry and 40-diamond payout is tuned to match the longer clear times. Skypiea rounds out the hard band, and its Wave 30 boss is the gating encounter for entry into the insane tier.
Hard Map Boss Patterns and Map Drops
Each hard map drops a specific boss-loot bundle on first clear, in addition to the standard wave-clear Berries. The Dune Marauder is the most farmed hard boss because it appears on Wave 20 in Dressrosa and pays a 12 R$ revive bundle plus an Epic-tier fruit roll. Marineford's boss drops a guaranteed Rare-tier fruit plus a one-time diamond multiplier, while Skypiea drops a Mythic-tier fruit chest that can be opened with a key purchased in the upgrade menu.
The map drops in the hard tier shift noticeably toward Epic and Mythic fruits, which is why most players focus their farming time here once the insane maps are unlocked. The diamond payout per run also scales with the hard tier, so even a 15-minute Marineford run pays better per minute than a one-minute Corrida Colosseum farm for players who already have their Health upgrade maxed.
Insane Difficulty Maps and Unlock Requirements
The insane difficulty map band in fruit zombie survival is the endgame, and the two maps in this tier are tuned for full squads of level 70+ players with maxed-out fruit kits. The insane map band also introduces the only two locations in the game that have a recommended level above 70, which means the unlock ladder is designed so that most players reach the top of the roster only after several weeks of regular play.
| Map | Unlock Trigger | First-Clear Bonus | Recommended Build |
|---|---|---|---|
| Wano | Clear Wave 35 in Skypiea | 12,000 Berries, 100 Diamonds | Max Health, max Fire Fist, Mythic fruit |
| Laugh Tale | Clear Wave 40 in Wano | 20,000 Berries, 200 Diamonds | Two Mythic fruits, full squad |
Wano is the first insane map and the gate to the highest-tier rewards in the game. The Wave 35 boss is roughly twice as tough as Skypiea's Wave 30 boss, and the zombie density between waves is tuned to drain ability cooldowns before the boss spawns. The 12,000-Berry and 100-diamond first-clear bonus is the largest normal-cleared payout in the game, but most players earn the clear with a coordinated four-person squad and at least one Mythic-tier fruit equipped.
Laugh Tale sits at the very top of the map roster, and its unlock requirement of clearing Wave 40 in Wano makes it the rarest first-clear in the game. The 20,000-Berry and 200-diamond payout reflects the difficulty, and the map is the only location in the game where two Mythic-tier fruit drops can be earned per run. According to the wiki-style hub at /en/guides/fruit-zombie-survival-wiki-guide/, Laugh Tale's boss is also the only encounter in the game that requires the full four-player squad to stabilize, because the boss has a phase-two enrage that one-shots any player below level 80.
Insane Map Strategy and Squad Composition
Squad composition matters more on the insane map band than anywhere else in the game, because the boss patterns are tuned to punish imbalanced parties. A standard Wano squad has one tank with a maxed Health upgrade and a Mythic-tier defense fruit, two damage dealers with Fire Fist and a Mythic-tier damage fruit, and one support role running a healing fruit and Dash on the Q key. Laugh Tale squads typically run two tanks and two damage dealers, because the Wave 40 boss has a stun pattern that interrupts any non-tank player who is not running a mitigation ability.
The insane maps are also where the map rewards table reaches its final form, because both Wano and Laugh Tale pay out a Mythic-tier fruit chest plus a one-time unlock of the Legendary fruit slot. The Legendary slot is the only fruit slot in the game that accepts items above the Mythic tier, and it is gated entirely behind the Laugh Tale first-clear. Players who want the highest-tier fruit in the game have to clear both insane maps in order, which is why the unlock ladder tops out at Laugh Tale rather than opening a higher tier after it.
Map Rewards and Map Drops Comparison
The rewards and drops table for fruit zombie survival scales cleanly with the map difficulty, so the higher-tier maps pay meaningfully more per clear. The table below compares the standard payout per map, the guaranteed first-clear bonus, and the highest fruit tier that can drop from a standard run on that map.
| Map | Map Difficulty | Wave Cap | First-Clear Berries | First-Clear Diamonds | Highest Fruit Drop |
|---|---|---|---|---|---|
| Corrida Colosseum | Normal | 10 | 500 | 0 | Common |
| Alabasta | Normal | 15 | 1,200 | 5 | Rare |
| Drum Island | Normal | 15 | 2,000 | 10 | Rare |
| Dressrosa | Hard | 20 | 3,500 | 25 | Epic |
| Marineford | Hard | 25 | 5,000 | 40 | Epic |
| Skypiea | Hard | 30 | 7,500 | 60 | Mythic |
| Wano | Insane | 35 | 12,000 | 100 | Mythic |
| Laugh Tale | Insane | 40 | 20,000 | 200 | Legendary |
The payout curve roughly doubles between each tier step, with the largest single jump happening between Skypiea and Wano, where the first-clear Berries increase from 7,500 to 12,000 and the diamond payout jumps from 60 to 100. The map drops table also shifts notably at this step, because Wano is the first map where Mythic-tier fruits can drop from a standard wave clear, not just from the boss.
The map rewards pool for the hard and insane maps is the main reason most players push past the normal tier once they have the build to do so. According to the All Things How diamond farming guide, even a moderately built squad can clear Dressrosa in roughly 20 minutes with two players, which works out to a higher diamond-per-hour rate than the solo Corrida Colosseum loop once the Health upgrade is maxed. The trade-off is that hard maps require a squad and a level gate, so they are not a one-player farm option the way Corrida Colosseum is.
Boss Encounters Tied to Map Unlocks
The map unlock ladder in fruit zombie survival is gated by specific boss kills, and the boss roster scales with each map tier. The table below lists the boss tied to each map's first clear, plus the recommended approach for squads that hit the unlock wall.
| Map | Boss | Recommended Strategy |
|---|---|---|
| Corrida Colosseum | Dune Marauder (Wave 10) | Solo; spam Fire Fist on V, reset after kill |
| Alabasta | Desert Swordsman (Wave 10) | Solo with Health tier 3; kite adds |
| Drum Island | Chopper's Shadow (Wave 15) | 2 players; stagger interrupts |
| Dressrosa | Dune Marauder Hard (Wave 20) | 2 players; Dash on Q for enrage |
| Marineford | Admiral's Wrath (Wave 25) | 3 players; one tank, two DPS |
| Skypiea | Sky Sovereign (Wave 30) | 4 players; coordinated burn phase |
| Wano | Oni Warlord (Wave 35) | 4 players; full Mythic kit |
| Laugh Tale | Final Boss (Wave 40) | 4 players level 80+ |
According to the community guide at /en/zombies/fruit-zombie-survival-how-to-beat-dune-marauder/, the Dune Marauder enrage timer on hard mode is the single most common cause of failed first-clear runs in Dressrosa, because the enrage phase triggers at 30 percent HP and one-shots any player below level 35. Squads that learn the enrage timer before attempting the clear save roughly 15 minutes of failed runs per attempt, which compounds across the full hard map band.
The boss patterns get meaningfully more complex as the map difficulty scales, but the core loop stays the same: each boss has a soft-enrage phase that triggers at 30 to 40 percent HP, and the soft-enrage is the moment when most squads lose players. Learning the enrage trigger for each boss is the single highest-leverage skill in the game, and it is what separates the players who clear Laugh Tale from the players who stall at Skypiea.
Frequently Asked Questions
How do I unlock new maps in fruit zombie survival for the first time?
Each map unlocks by clearing a specific wave milestone on the previous map, starting with Corrida Colosseum as the default starter. The full ladder is Corrida Colosseum → Alabasta → Drum Island → Dressrosa → Marineford → Skypiea → Wano → Laugh Tale, and each step requires a wave clear plus the recommended level for that map.
What is the difference between normal, hard, and insane map difficulty?
Normal maps have a Wave 10 to 15 cap, weaker bosses, and a first-clear payout up to 10 diamonds. Hard maps run to Wave 20 to 30, have elite zombie spawns and tighter timers, and pay up to 60 diamonds per first clear. Insane maps run to Wave 35 to 40, require a full four-player squad at level 70+, and pay up to 200 diamonds plus a Legendary-tier fruit drop on Laugh Tale.
Do map rewards reset every run or only on first clear?
The map rewards from each first clear are one-time only, but the per-run Berries, diamond payout, and fruit drop rolls reset on every clear. Most players farm hard and insane maps repeatedly because the per-run payout scales with the map tier, even after the first-clear bonus has been claimed.
How long does it take to unlock all eight maps in fruit zombie survival?
For an active player running the solo Corrida Colosseum farm loop, the full unlock ladder takes roughly three to four weeks of regular play, with most of that time spent grinding Corrida Colosseum to level 25 before Alabasta opens. Squads of three or four players who coordinate runs typically finish the ladder in two to three weeks because hard and insane maps clear faster in a full party.
Which map is the best for farming diamonds after unlocking the full roster?
Marineford is the best squad farm for diamonds after the hard tier unlocks, because the 40-diamond first-clear bonus is large and the per-run payout stays high even after first clear. Solo players should stay on Corrida Colosseum until they hit level 35, because the solo farm loop pays 19,000 diamonds per hour with the Fire Fist ability and Health upgrade maxed, which beats any hard map run for a one-player session.